John Ferguson – CEO
On the AIR-T Edge Series, this GPU-based multi-channel FM demodulator is capable of simultaneously receiving and demodulating 12 FM channels without exhausting the GPU resources.
Authors
Luigi Cruz, John Ferguson, Jeff Zurita

Demonstration Overview
The FM broadcast system is ubiquitous around the world. It’s one of the most successful methods of mass communication ever deployed. At any given time, multiple FM stations are being transmitted simultaneously, especially near urban centers. Each FM station is 200 kHz wide and shares an allocated radio spectrum with the others. This spectrum’s exact numbers can vary according to region but it’s usually around 20 MHz wide, located from 88 MHz to 108 MHz. By being so close together, it’s quite easy to receive several stations at the same time using a modern software defined radio (SDR), like the new Artificial Intelligence Radio Transceiver (AIR-T) Edge Series.
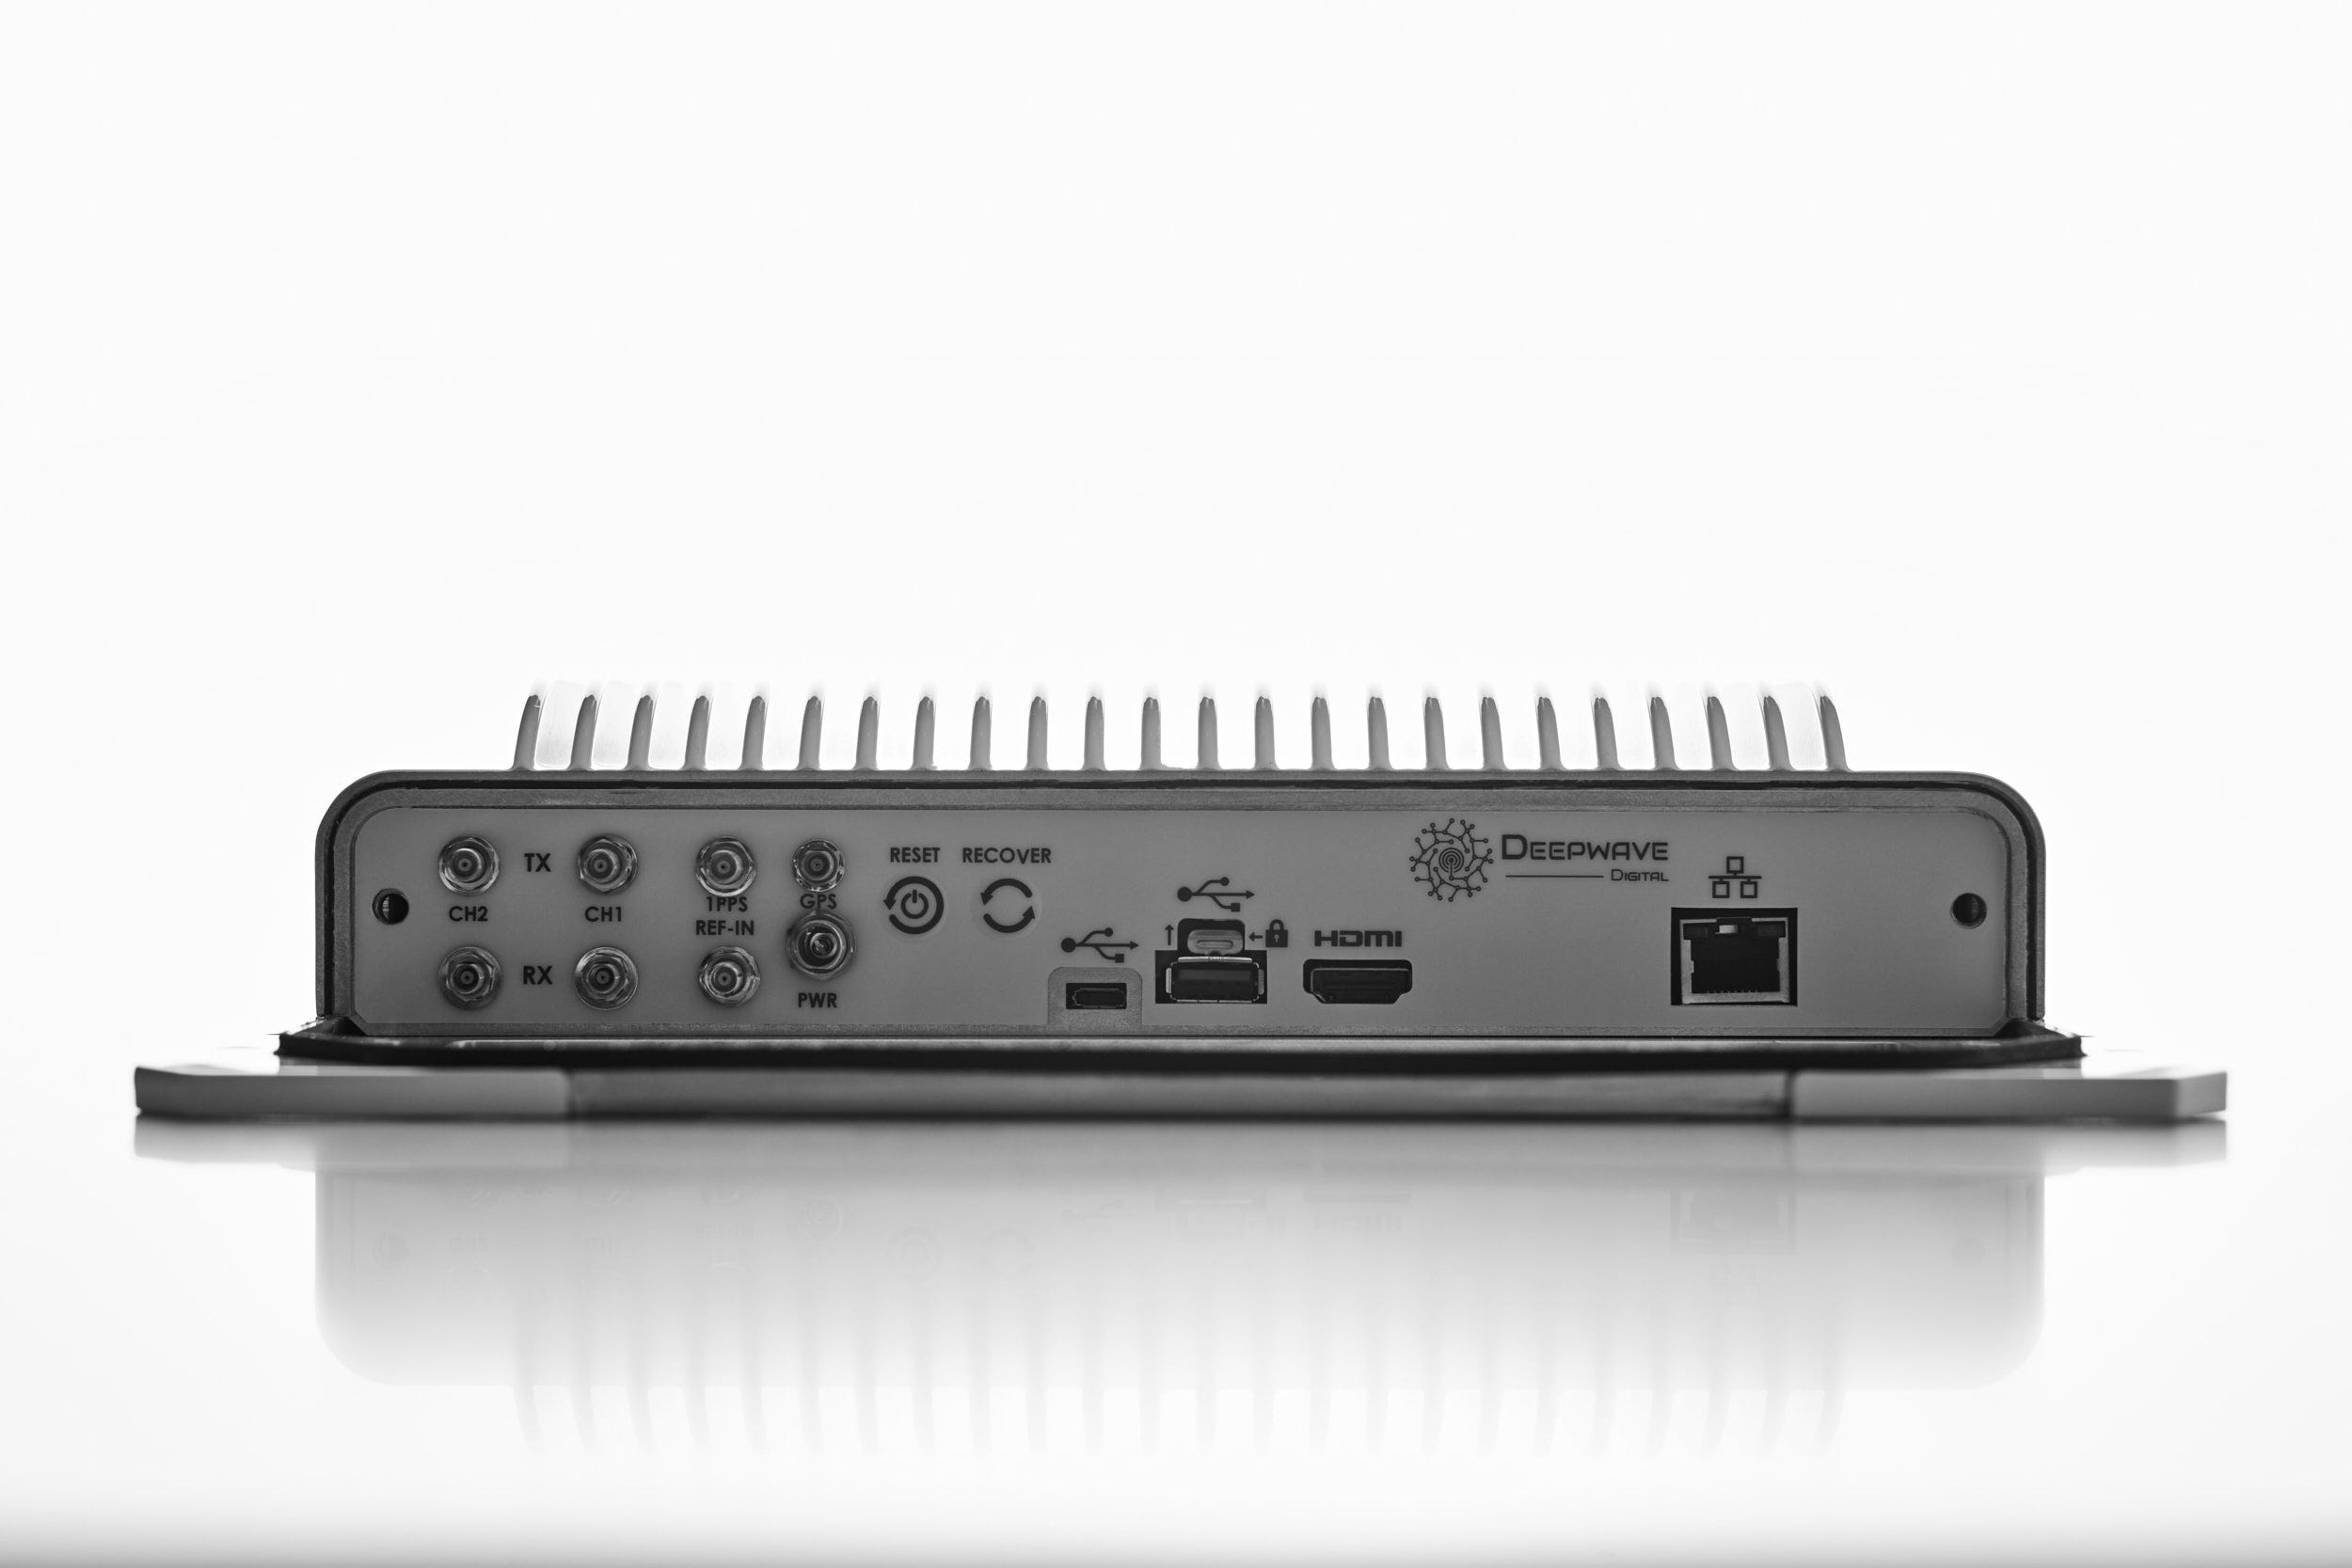
The AIR-T is unique amongst SDRs as it is the only SDR that includes a graphical processing unit (GPU) on a single, small form factor product. The GPU enables parallel, high speed signal processing allowing for capabilities otherwise not available in an SDR. To showcase the capabilities that a GPU enables, the authors have created a multi-channel FM demodulator running on the AIR-T as a demonstration of highly parallel processing capability.


Leveraging Open Source Libraries
The GPU-based multi-channel FM demodulator is implemented in Python and leverages the AIR-T’s AirStack API along with multiple open-source libraries including radio-core, cuPy, cuSignal, and many others. Specifically for GPU signal processing, CuPy is used to solve linear algebra vector-operations and cuSignal is used to filter and resample signals with finite impulse response (FIR) filters.
Result
In the demonstration, the FM channels, selected at runtime, can be either Wideband FM (stereo audio), MFM (de-emphasized, mono audio) or FM (mono audio without de-emphasis) broadcast signals. The mixture of FM broadcasting signal types (WFM, MFM, or FM) will determine the capacity in terms of the number of simultaneous FM channels demodulated. On the AIR-T Edge Series, the multi-channel FM demodulator is capable of simultaneously receiving and demodulating 12 FM channels without exhausting the GPU resources.
The demonstration consists of two modules, a server module which runs on the AIR-T and performs simultaneous demodulation of multiple broadcast FM stations and streams the demodulated audio to a client module. The client module can run on the AIR-T, or externally on a suitable computer. The client module can select any of the demodulated data streams and process to raw audio for speaker output or further processing.
The demonstration can be enhanced in numerous ways depending on user needs. One possible enhancement is to automatically scan for broadcast stations rather than having them predetermined. Another enhancement would be to further process the audio streams, such as for speech-to-text applications, previously demonstrated to run natively on the AIR-T, or other voice processing applications, such as language detection, speaker recognition and similar.
Source Code Tutorial
To ensure a consistent development environment, this tutorial uses Anaconda to install the required dependencies and configure the Python environment in a deterministic manner. The YAML file containing the instructions to create this environment is provided by the radio-core repository. More information regarding Anaconda can be found in this tutorial. This installation guide assumes the AIR-T is running an AirStack version 0.5 or newer.
Create the Virtual Environment
Download the YAML environment file from the repository. For security reasons, it’s important to verify the content of any file downloaded from the Internet before proceeding.
$ wget https://github.com/luigifcruz/radio-core/raw/master/conda/airt.yaml
After checking the contents of the downloaded file, the Anaconda development environment can be created by the following command. Since this is a large installation, it can take several minutes to complete. This command also sets the CUPY_NVCC_GENERATE_CODE environment variable with the system’s GPU architecture. This will make the creation complete faster.
$ export CUPY_NVCC_GENERATE_CODE="arch=compute_62,code=sm_62"
$ conda env create -f airt.yaml
Upon completion, the new development environment is now created and can be enabled by the command below. This will temporarily replace the default system Python installation with the recently created Anaconda environment. This command has to be repeated every time a new terminal session is opened.
$ conda activate radiocore
Finally, the cuSignal library is the last dependency that needs to be installed. In contrast with the previous dependencies, it needs to be manually downloaded and compiled from the source. This is easily achievable by the commands below. The build process can take a couple of minutes to complete. More information about this process can be found in this tutorial.
$ git clone https://github.com/rapidsai/cusignal.git
$ cd cusignal; ./build.sh
This Anaconda environment now has all the required dependencies of radio-core. The command below will check if all of them are working correctly. If this command returns an error, review the previous steps and check if everything was installed without errors. A “Success…” string will be printed in the terminal if everything is working as expected.
$ python -c "import cupy; import cusignal; import SoapySDR; print('Success...')"
The last step of the installation process is to install radio-core itself. This can be done with the single command line below. This command will use PyPi to download and install the remaining pre-compiled dependencies from the Internet and install radio-core from the source.
$ python -m pip install "git+https://github.com/luigifcruz/radio-core.git#egg=radiocore[cuda]"
The command below will check if the installation was successful. A “Success…” string will be printed in the terminal if radio-core is working as expected.
$ python -c "import radiocore; print('Success...')"
Demonstration
To demonstrate the simultaneous reception of FM stations, an example script provided by the radio-core repository is used. This script has two parts, the multi_fm_server.py running on the AIR-T, and multi_fm_receiver.py running inside the client computer. The server running inside the AIR-T is responsible for receiving the RF signal using AirStack, splitting the wideband RF signal into smaller chunks containing a single FM channel, demodulating each chunk individually, and sending the audio data to the receiver via the network using the ZeroMQ protocol. All of these steps are accelerated by the internal Nvidia GPU of the AIR-T. The reception script is responsible to receive the audio data sent from the server and play it using the device speakers. The command below will clone the radio-core repository that contains the example scripts and then navigate to the directory where the examples are located.
$ https://github.com/luigifcruz/radio-core.git
$ cd radio-core/examples
Before running, the multi_fm_server.py needs to be modified with any text editor. This file contains a configuration section inside itself. The enabled_cuda should be enabled by changing the value to True. The input_rate should be set to the desired bandwidth, it’s recommended to keep this value as low as possible to avoid wasting processing time. The device_name should be set to the internal SDR with SoapyAIRT. The deemphasis value should be 75e-6 if you live in the Americas or Korea, otherwise, it should be 50e-5. Finally, the channels will define which FM stations should be demodulated and transmitted to the receiver. In the example, three channels are being demodulated. The first argument is the station frequency in Hz, the second argument is the bandwidth of the channel, the third argument is the output audio bandwidth, and the last argument is the demodulator.
...
enable_cuda: bool = True        # If True, enable CUDA demodulation.
input_rate: float = 10e6        # The SDR RX bandwidth.
device_name: str = "SoapyAIRT"  # The SoapySDR device string.
deemphasis: float = 75e-6       # 75e-6 for Americas and Korea, otherwise 50e-6.
channels = [
  # Channel(Frequency, IF sample-rate, Audio bandwidth, Demod type)
    Channel(96.9e6, 240e3, 48e3, WBFM),
    Channel(94.5e6, 240e3, 48e3, MFM),
    Channel(97.5e6, 240e3, 48e3, FM),
]
...
Currently, there are three types of demodulators supported:
- WBFM: Demodulates a wideband FM station with stereo audio. It uses about ten times more processing than the MFM demodulator. It also de-emphasizes the output audio. This is due to the processing needed to lock the PLL with the pilot tone and the additional filtering needed for both channels.
- MFM: Demodulates a wideband FM station with mono audio. It also de-emphasizes the output audio.
- FM: Demodulates an FM station or transmission. No de-emphasis is performed.
The multi_fm_receiver.py should also reflect the changes made to the server script. The frequency should be the frequency in Hz of the station meant to be received. The audio_rate should match the audio bandwidth of the station. The channels should reflect the number of audio channels of the current station. The server should point to the address of the AIR-T.
...
frequency: float = 96.9e6             # FM station frequency.
audio_rate: float = 48e3              # Audio bandwidth (32-48 kHz).
channels: float = 2                   # Audio channels (2 = WBFM, 1 = FM/MFM).
server: str = "tcp://10.0.0.1:5555"   # AIR-T network address.
...
All done, the configuration is ready to be put to test! The first step is to start the server script using the command below in the AIR-T. This can take a few seconds to start on the first try. But the subsequent runs will be faster. Make sure to connect an antenna to the device. After starting, the script should print the buffer health every second. This number indicates the amount of the circular buffer used. It should stabilize after a few loops. If it keeps increasing to an eventual overflow, it’s an indication that there are too many stations to be demodulated at the same time.
$ python multi_fm_server.py
Configuring SDR device...
Allocating SDR device buffers...
Starting processing 1 radios...
DSP buffer occupancy: 0.00%
DSP buffer occupancy: 38.54%
DSP buffer occupancy: 11.32%
DSP buffer occupancy: 5.95%
DSP buffer occupancy: 6.04%
After the server initialization, the receiver can be executed using the command below in the client computer. This device should have network access to the AIR-T. After a couple of seconds, the playback should start. If nothing happens, double-check the frequency of the station. Since this is a simultaneous operation, multiple receivers tuned to different stations can be run at the same time!
$ python multi_fm_receiver.py
Creating ZeroMQ server...
Allocating buffers...
Starting audio stream...
Starting playback...
For more information on how to leverage Deepwave’s AI Radio for your application, please contact our team.